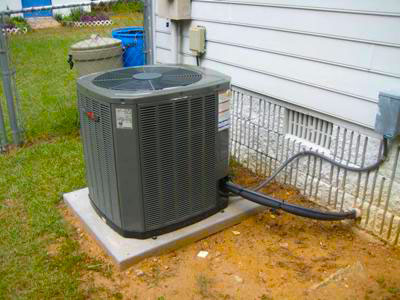
AC Condenser
More on what to do about your ac not working. Our previous article covers everything to check when AC is not working & nothing turns on. This one is about what to do when the compressor outside turns on but the AC condenser fan is not working (see here for a full list of problems & causes including AC runs but doesn’t cool).
You’ve checked that your thermostat is switched on and the actual room temperature has gone above the temperature that the thermostat is set to. The AC isn’t turning on and maintaining the set temperature. Check the outside condensing unit and see if you hear the compressor running. See if you hear the humming sound of the compressor and find that the fan isn’t on. If this is the case then the problem is most likely one of these items:
- capacitor
- fan control board
- fan motor
- loose, disconnected or corroded wires or connectors
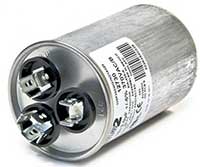
Capacitor
Here’s the first thing to check while the unit is on and you hear the compressor: Stick something through the top and give the fan blade a push to see if it starts spinning. If the motor then starts spinning the fan it is likely a bad capacitor. We’ve covered how to test & replace a capacitor in our previous article. Often a bad capacitor will be swollen, so you can tell just by looking at it.
If the fan doesn’t start running when you give it a push then it’s most likely a bad fan motor. These motors can go out even after just 5 years. If yours is 10 or 20 years old than it isn’t uncommon to need replacement. Some units also have a fan control circuit board, while some don’t. You can follow the wires from the fan motor to see if there’s any going to a circuit board. It’s less common than the fan motor but sometimes it’s the circuit board.
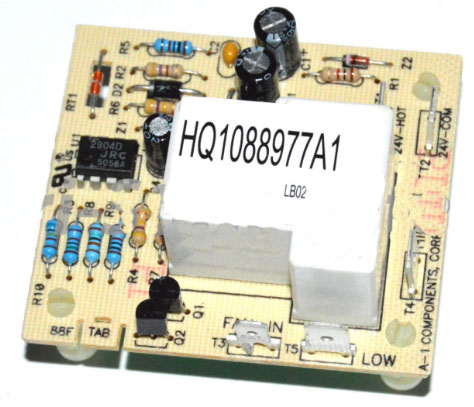
Fan Control Circuit Board
Before you touch anything inside or remove the panel on the condenser though, be sure to completely shut down the power. Turn off the breaker and remove the disconnect insert from the disconnect box on the wall next to the condenser. Then remove the panel and look at the capacitor. If it’s swollen that is your problem. Replace the capacitor as we’ve described.
If the capacitor isn’t swollen it could still be bad. It would need to be checked with a multimeter as we’ve described. But first look also for loose or corroded connections. Next check if there’s a circuit board. If there is one you can test it with a multimeter. Testing with the multimeter of course must be done with the unit powered on. Do not power on though until the testing is ready as decribed below.

Fan Wire Connector
Follow the wires from the fan motor to the circuit board. Ideally there will be a plastic wire connector that unclips apart disconnecting the fan wires. You can perform the test by inserting the multimeter probes into the sockets of this connector. Of course you will test the end connected to the board to see if power is coming from the board. We’re mainly testing to see if power is reaching the fan motor. So testing power at the plastic clip applies either way whether you have a circuit board or not. If the wires to the fan do not have a detachable plastic connector, still just find where the wires connect and test from there. If you find that there’s approx 220 volts going to where the fan wires are connected then you have a bad fan motor.
With a circuit board typically there is a black wire (labeled ‘HIGH’ on the board) & blue wire (labeled ‘LOW’ on the board) coming off the board to the fan. Then there’s a red wire (COMMON) from the capacitor to the contactor to the fan. If there’s no plastic connector enabling you to insert probes then you’ll need clips for your multimeter. You’ll need to pull the wire off the board and connect the clip.

Contactor
Testing will be like this: test red (on contactor or plastic connector-if there is one) & black (on board or on plastic connector-if there is one). Have the power to the unit completely off. Connect your multimeter & have it on. Connect power to the ac, then switch the thermostat to on. Watch the multimeter when the compressor kicks on. See if the voltage jumps up. We recently tested a typical 220 volt system which measured 212 volts when it kicked on. This is sufficient power, we could see that power is being supplied to the fan through the circuit board. At that point it was clear that we had a bad fan motor.
There’s one other test that can be done on the fan motor using the Ohms setting on the multimeter if yours has one. The following video deomontrates this test. You’re going to test 3 of the wires on the fan. Our recent example was the black, blue & brown wires on the fan. This fan also had a red & green wire for power & ground. You’ll be testing the other 3 wires, 3 tests with 2 different wires at a time. The 2 lower numbers should add up to the same as the highest number. If they don’t then the motor is bad. In our test the difference was 10.2 less. We replaced the fan motor and everything ran perfectly again.

Fan Motor
If the circuit board tested with no power, then test the capacitor as described here. The problem could be either the board or the capacitor. These parts are often only about $20 each, while fan motors can run $75-$150 (update: as of 2022 prices have all increased & parts can be harder to find). Make sure to match your part numbers. Capacitors must have matching uf or MFD numbers. Fan motors must match volts & RPM.
Just remember, only have the power on when your running the multimeter test. Otherwise always have the power off when touching inside the unit & replacing parts. Replacing a capacitor, circuit board or fan motor is not difficult. Just take your time & take pictures of where each wire is connected & be sure to replace every wire exactly the same way. Be aware that capacitors can hold a high voltage charge & should be discharged before handling. See our description about testing capacitors.
Replacing a fan motor can be done in as little as 15 minutes, however, often the fan blade is rusted onto the shaft and can be very difficult to remove. Consider getting a new fan blade along with the motor. They often aren’t very expensive. If you can’t find the right one or want to try your luck it’s possible to remove it with some good elbow grease. See the following video on the old school method using no special tool. There’s also a special tool for this job to make blade removal much easier. Check it out here. See the videos below on how to remove the fan blade with & without the tool. Whatever you do you must be careful not to bend the fan blade. If an imperfectly aligned fan blade is mounted on a new motor it could burn out the motor in short time. Good luck with your DIY repair. Hopefully this has resolved your ac not working.